A constantly running or inconsistent toilet can waste gallons of water every day, driving up your utility bills and causing unnecessary frustration. The good news is that most of the time, the issue is a simple part inside your tank: the toilet fill valve. With a few tools and a little patience, you can often handle a minor toilet valve issue yourself. Here’s how to recognize the problem, attempt basic repairs, and know when it’s time to call in a professional plumber in South Jersey.
What Is a Toilet Fill Valve?
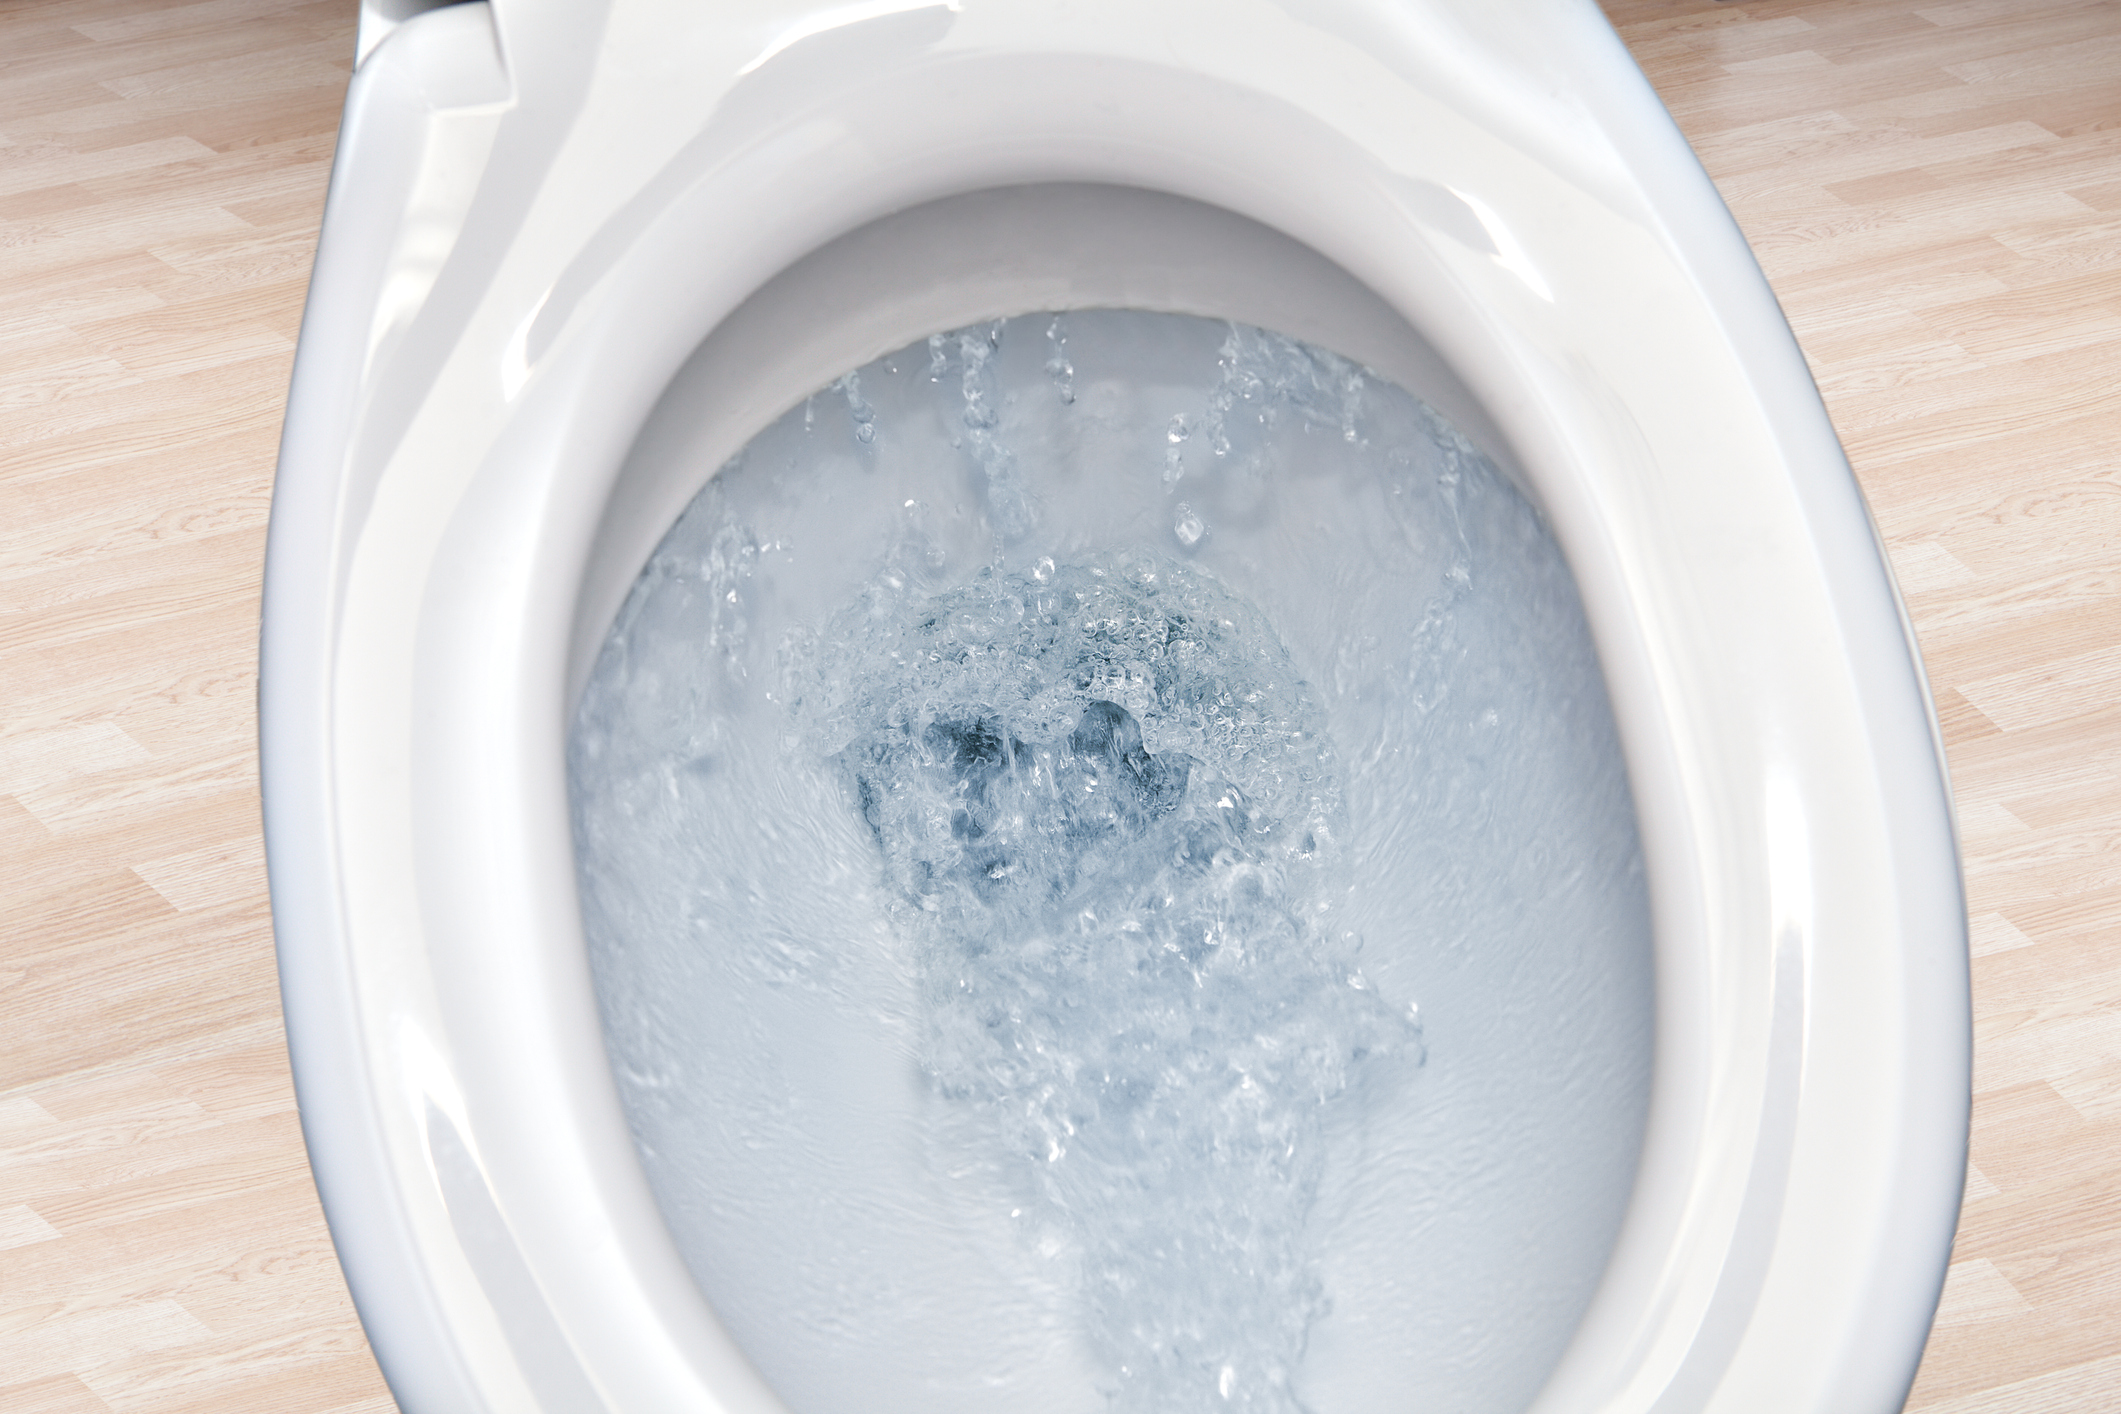
The toilet fill valve is responsible for refilling the tank after every flush. It controls the flow of water and determines how much enters the tank before shutting off automatically. When the valve malfunctions, your toilet may not refill correctly, or worse, it may keep running after a flush. While the valve may seem like a small component, it plays a key role in keeping your plumbing efficient and leak-free.
Signs of a Faulty Toilet Valve
A faulty fill valve is usually easy to spot once you know what to look for. These are the signs to keep an eye out for:
- Constant running water: If your toilet keeps running after the tank has filled, the valve may not be closing properly.
- Weak or incomplete flushes: When the valve doesn’t allow enough water into the tank, the toilet may fail to flush completely.
- Hissing or whistling noises: These sounds often indicate a valve struggling to regulate water flow.
- Slow tank refills: A partially blocked or worn-out valve can cause the tank to fill much more slowly than usual.
- Intermittent refilling: If the toilet seems to turn on by itself, water may be leaking slowly into the bowl, triggering the valve to refill.
Step-by-Step: How To Fix a Faulty Toilet Valve
If you’re comfortable with basic plumbing maintenance, you can often handle minor valve issues yourself. Here’s how:
- Step 1: Turn off the water supply. Locate the shutoff valve behind or near the toilet and turn it clockwise until the water stops flowing.
- Step 2: Drain the tank. Flush the toilet to empty as much water as possible, then use a sponge or towel to remove any remaining water from the tank.
- Step 3: Inspect and clean the valve. Mineral buildup is common in South Jersey’s water. Wipe down the valve and remove any debris that could interfere with operation.
- Step 4: Adjust the float level. The float determines when the water shuts off. Adjusting it slightly can often fix running or incomplete flushes.
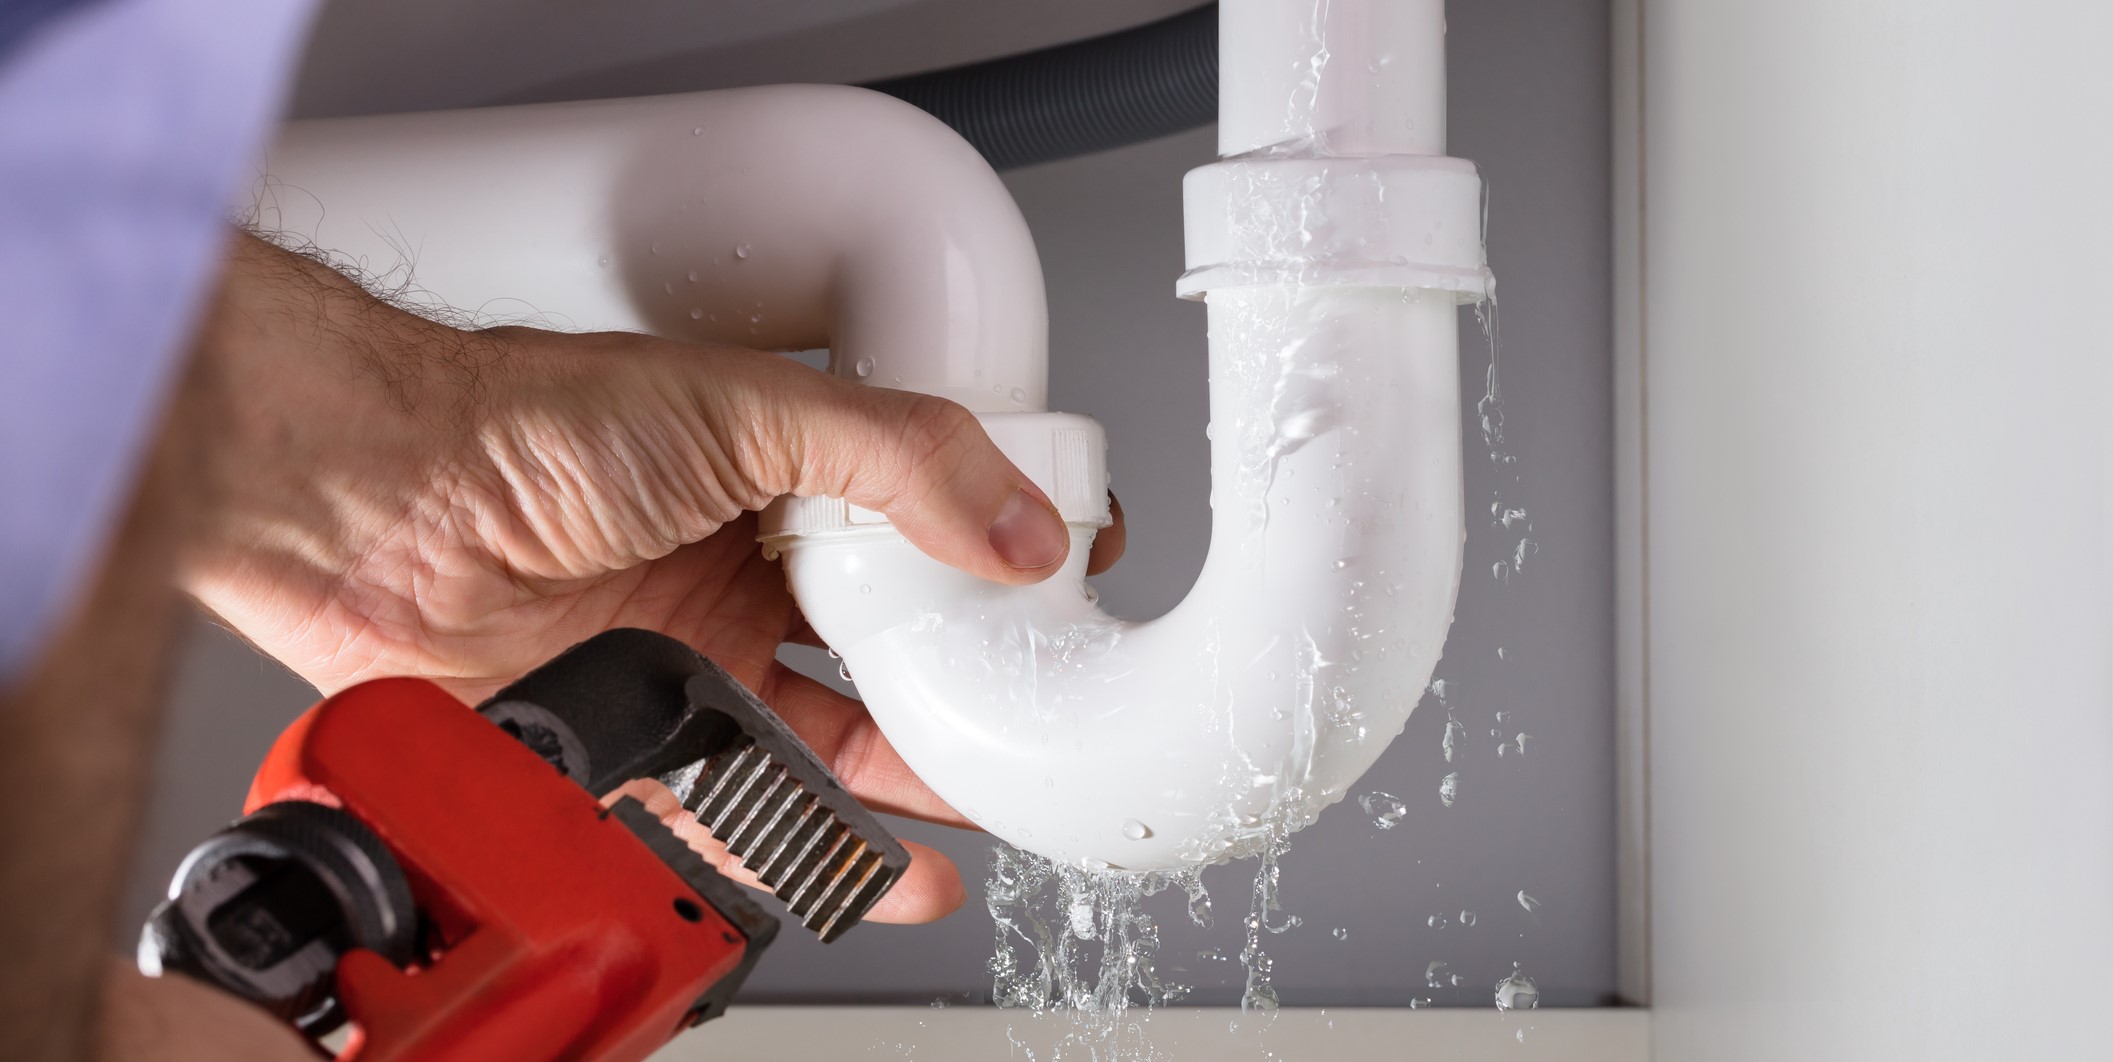
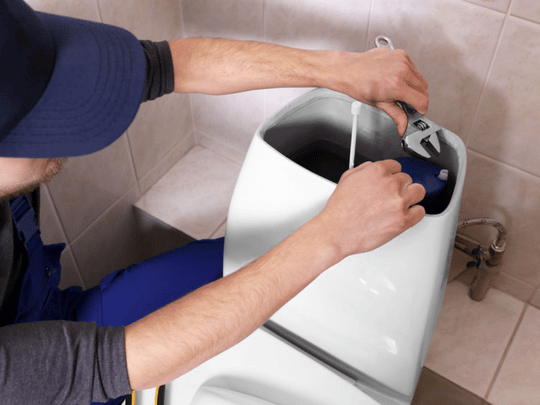
- Step 5: Replace the fill valve (if needed). If cleaning and adjustments don’t work, replace the valve entirely. Disconnect the water line, remove the old valve, install the new one, reconnect everything, and test for leaks. Replacement kits are available at most hardware stores and are relatively inexpensive.
When To Call a Professional
If your toilet continues running after you’ve replaced or adjusted the valve, or if you notice water pooling around the base, it’s time to call a licensed plumber. More complex problems, like hidden leaks, cracked tanks, or corroded supply lines, require professional tools and expertise. A professional can make sure that the issue is fixed completely and safely, preventing future water damage or wasted water.
Schedule Toilet Repairs With EnviroSafe Today
When a DIY repair isn’t enough, turn to EnviroSafe for professional plumbing services you can trust. Our licensed and certified technicians provide honest diagnostics, upfront pricing, and same-day service throughout South Jersey. Whether you need toilet valve replacement or other bathroom plumbing services, our background-checked team is committed to reliable work and courteous service backed by decades of experience.
Schedule toilet repairs in South Jersey with EnviroSafe today!